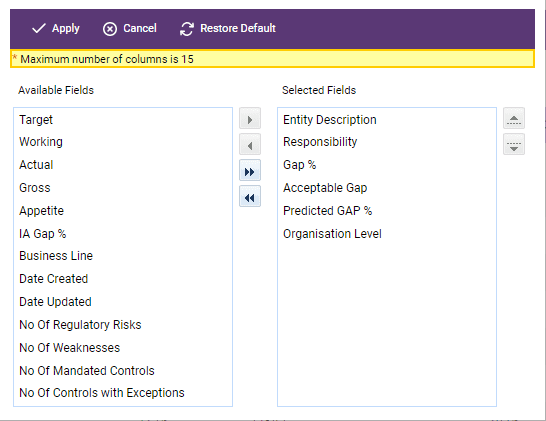
You can modify the information that you see in this screen by clicking on the “Edit View” button in the toolbar and it will bring up the following screen:

The “Selected Fields” section appearing on the right pane lists the columns that are currently appearing on the screen and on the left pane, the “Available Fields” section lists the columns the user can select to appear. To select one of the Available Fields, simply click on it to highlight it and then click the top arrow in the centre column to transfer it to the Selected Fields pane. Then click on Apply in the top left of the toolbar and that extra field will appear on the Entity screen layout.
Notes:
-The same functionality is available for most of the listing screens in the system.
-User can only select 15 columns as a maximum.
You will notice on the toolbar at the top of the Entity Listing screen that there is a button for "Export". This is a way of converting the data on the screen to an Excel spreadsheet and saving it elsewhere on your system to work on later. If you click on "Export" the following screen appears:

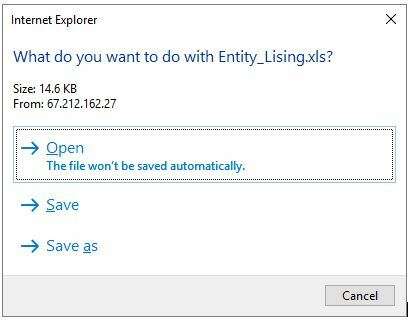
You can see that you have the option of setting up the spreadsheet in either XLS or CSV format. Once you have made your choice click Export and the following screen appears:

Click on your selection and the export is completed.
We now need to look at the three main components of the Risk Profiling activity that will take place for each Entity:
1.Risk documentation;
2.Control documentation;
3.Risk and control evaluation.
Each of these is covered in detail in the following sections.